Installing Visual Studio
The following tutorial will walk you through the basic steps of installing Visual Studio.
- Step 1 - Download the Visual Studio Installer
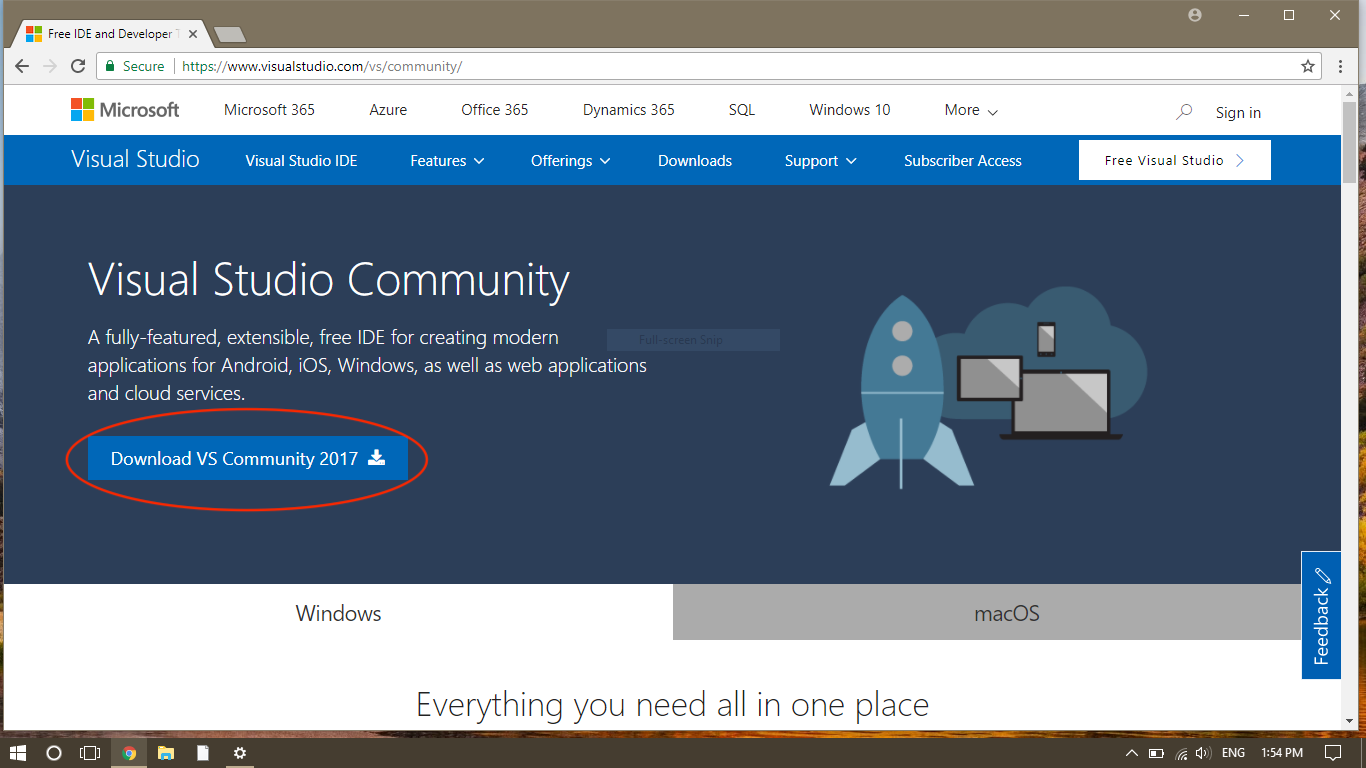
- Go here to download Visual Studio Community.
- Click "Download VS Community 2017."
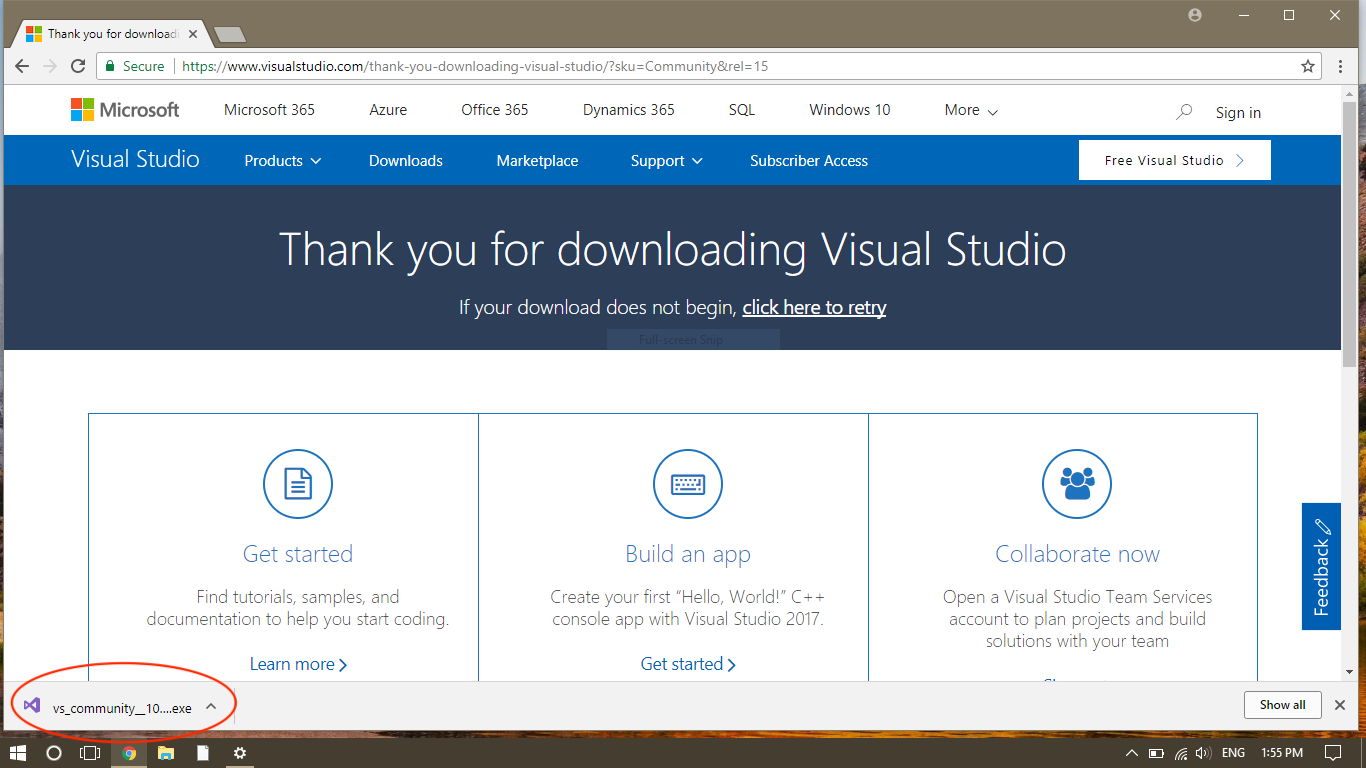
- When the download completes, open it to start the installer.
- Step 2 - Complete the Installation Process
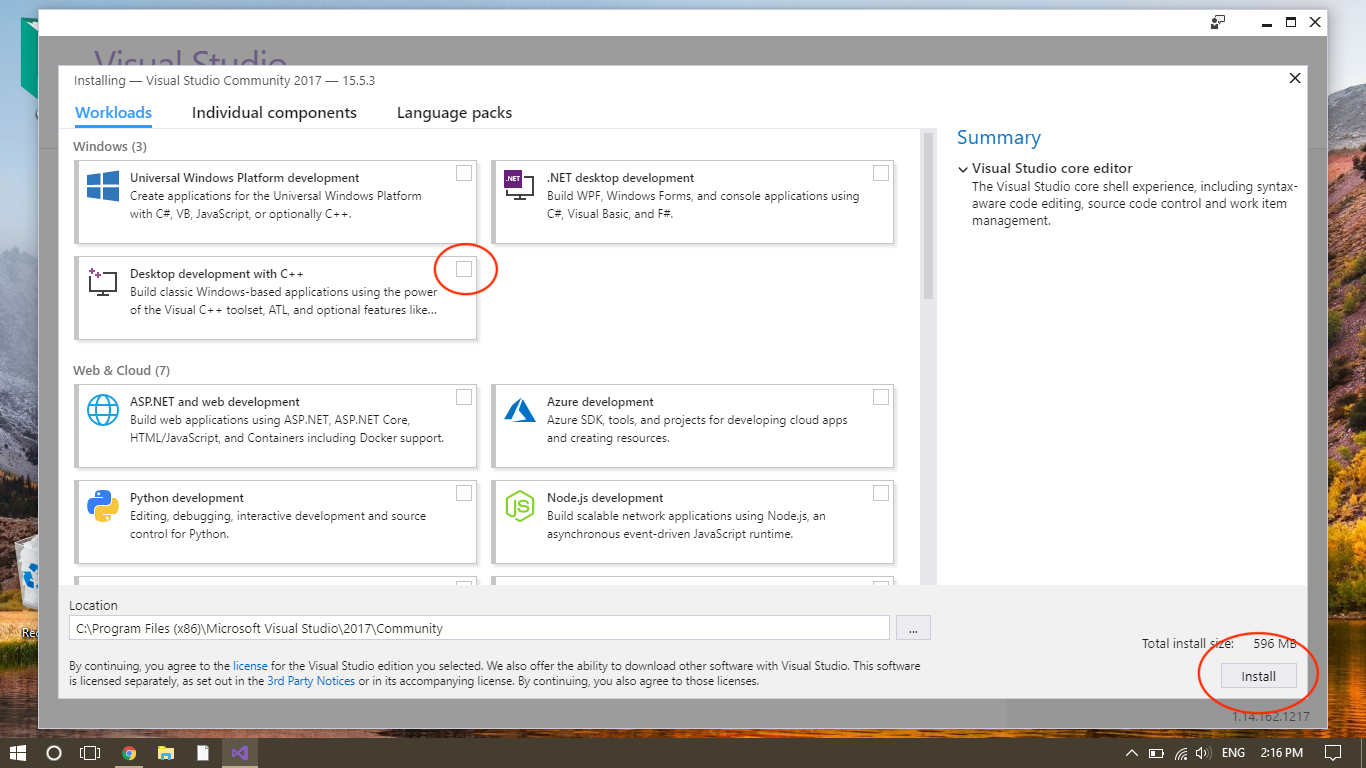
- Follow the steps of the installer. When the installer asks what you want to install, select "Desktop Development with C++". Then click "Install."
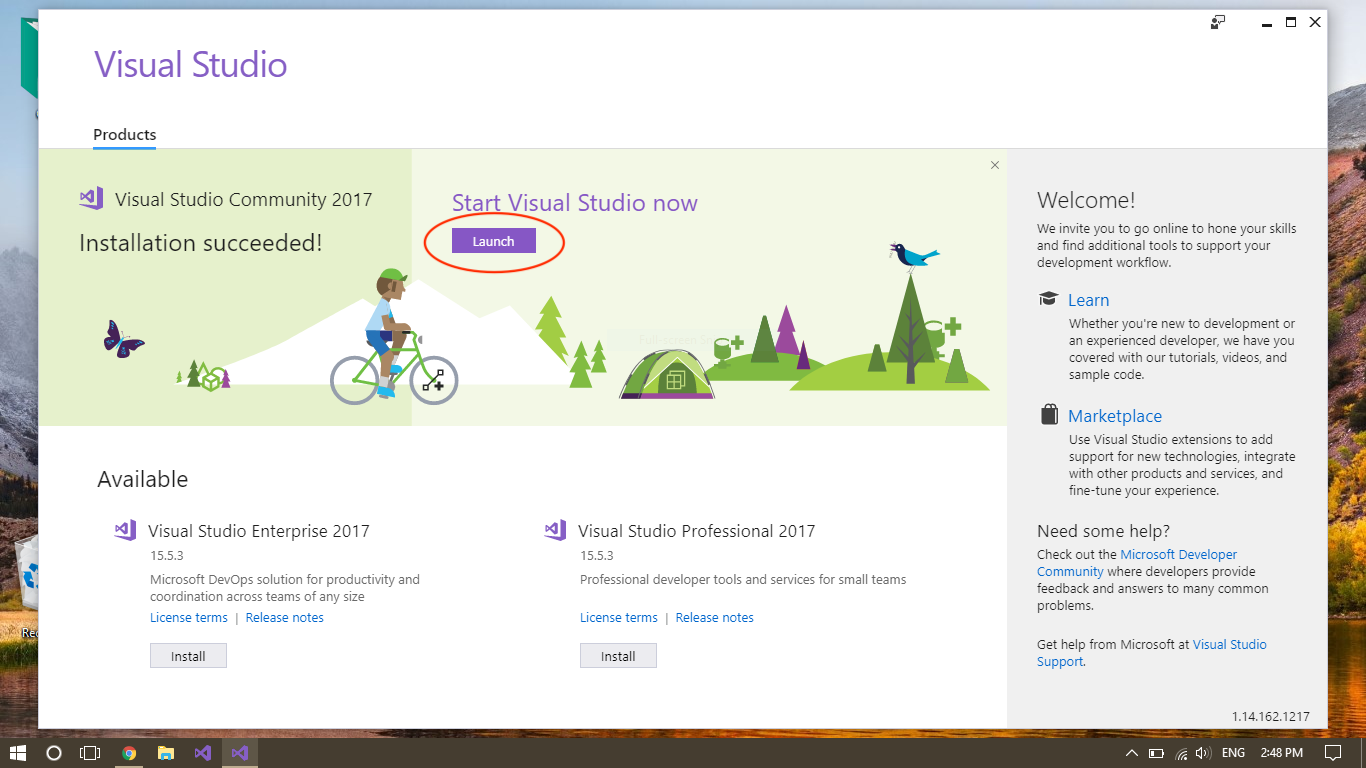
- The installer may take a while. When it is complete, click the "Launch" button.
- Step 3 - Sign in to Visual Studio
- In order to keep using Visual Studio Community after 30 days, you need to sign into it with a Microsoft account. Luckily, all BYU students have a Microsoft account!
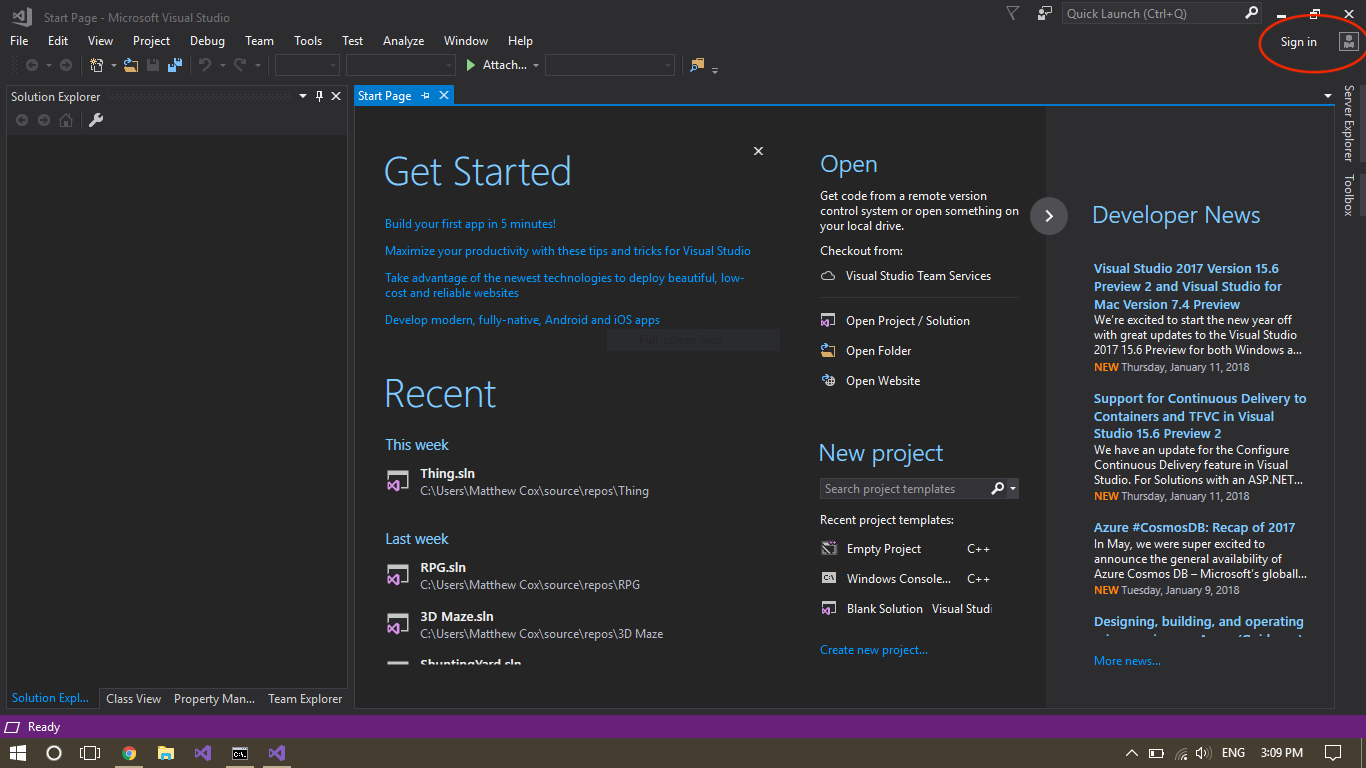
- Click the "Sign In" button at the top-right corner of Visual Studio.
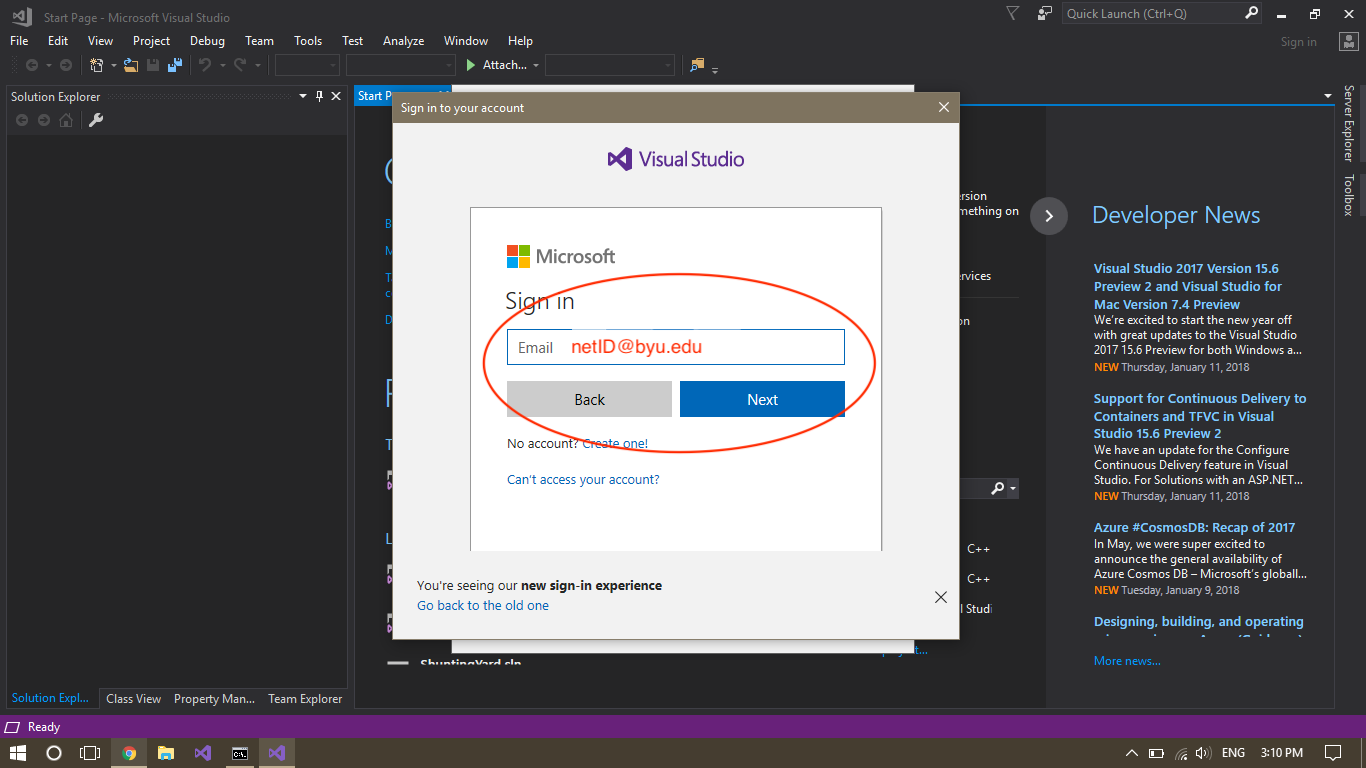
- Sign in using [your netID]@byu.edu.
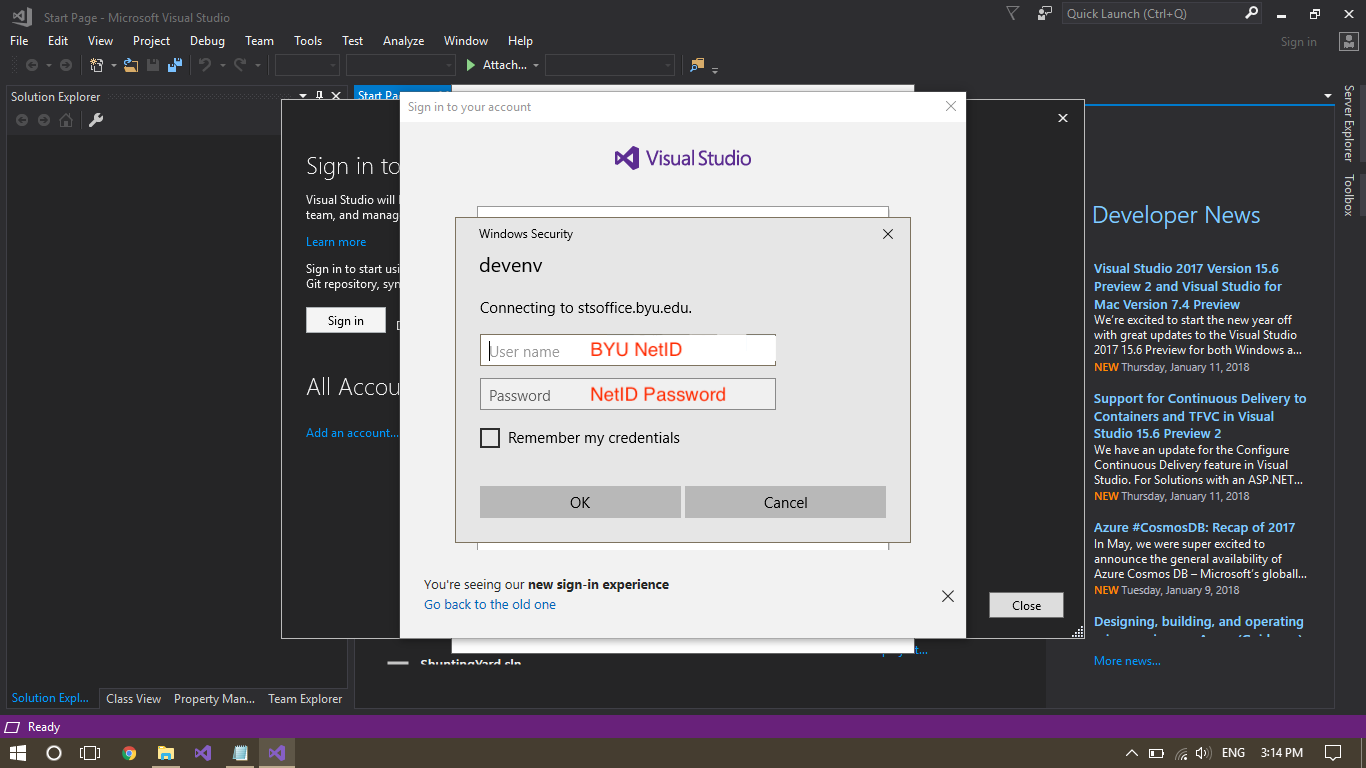
- You will then be prompted with another sign-in dialog. Enter your netID (without "@byu.edu") as the user name, and your netID password as the password
- Congratulations, Visual Studio is now ready for you to use!