Installing Windows 10 in VirtualBox
CS 235 requires that you use Visual Studio. Unfortunately, developing C++ in Visual Studio is only compatible with the Windows Operating System. However, as a student, you can download Windows 10 for free following the Add/Drop deadline. You can then use a program such as VirtualBox to run it in a Virtual Machine in macOS.
The following tutorial will walk you through the basic steps of installing Windows 10 in VirtualBox.
- Step 1 - Download the Windows 10 ISO
- Students in Computer Science classes can get Windows 10 for free, after the Add/Drop Deadline.
- Click here to access the free download.
- Be sure to download the correct ISO for your machine architecture. Most likely, you will be fine with the 64-bit download.
- Step 2 - Download and Install VirtualBox
- Click here to download VirtualBox. Click the link for "OS X Hosts".
- When the download is complete, open the downloaded file and run the installer. Follow the steps as indicated.
- Step 3 - Setup VirtualBox
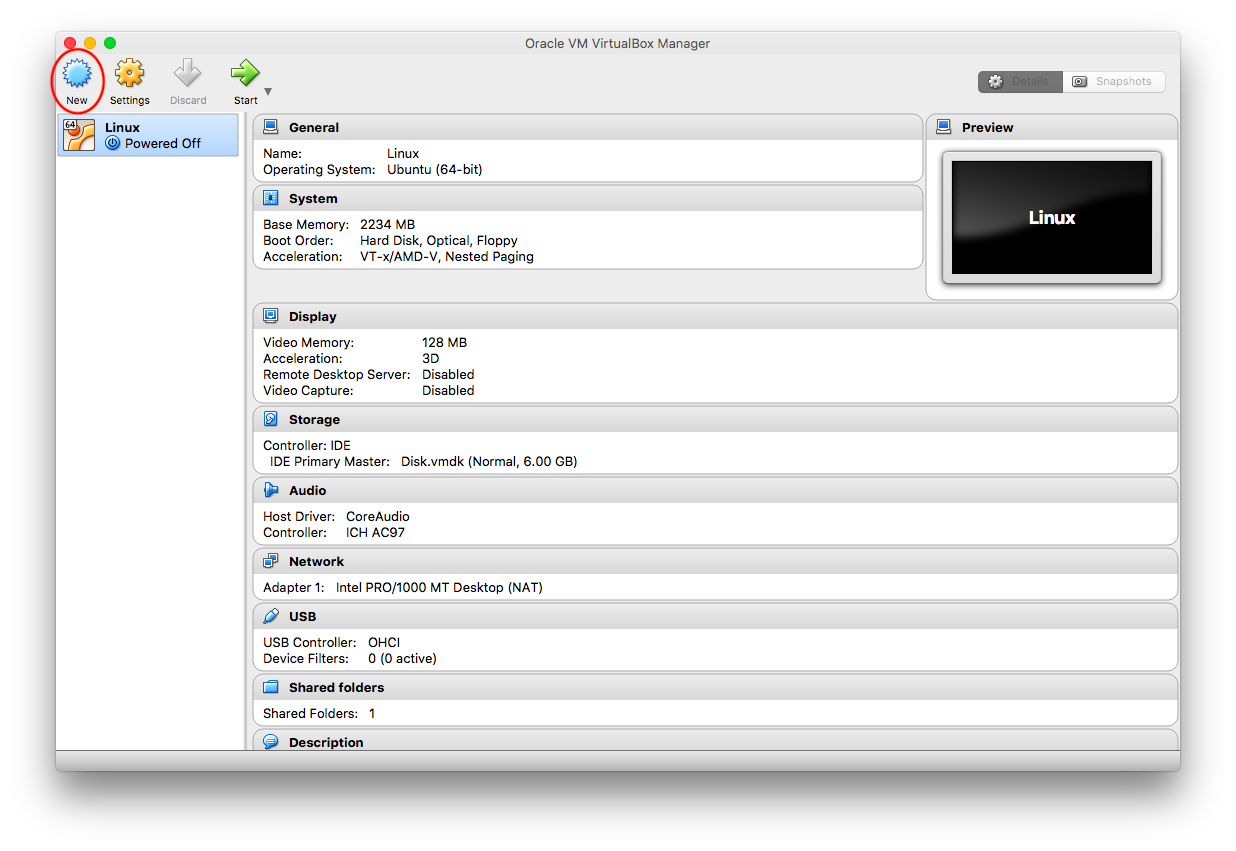
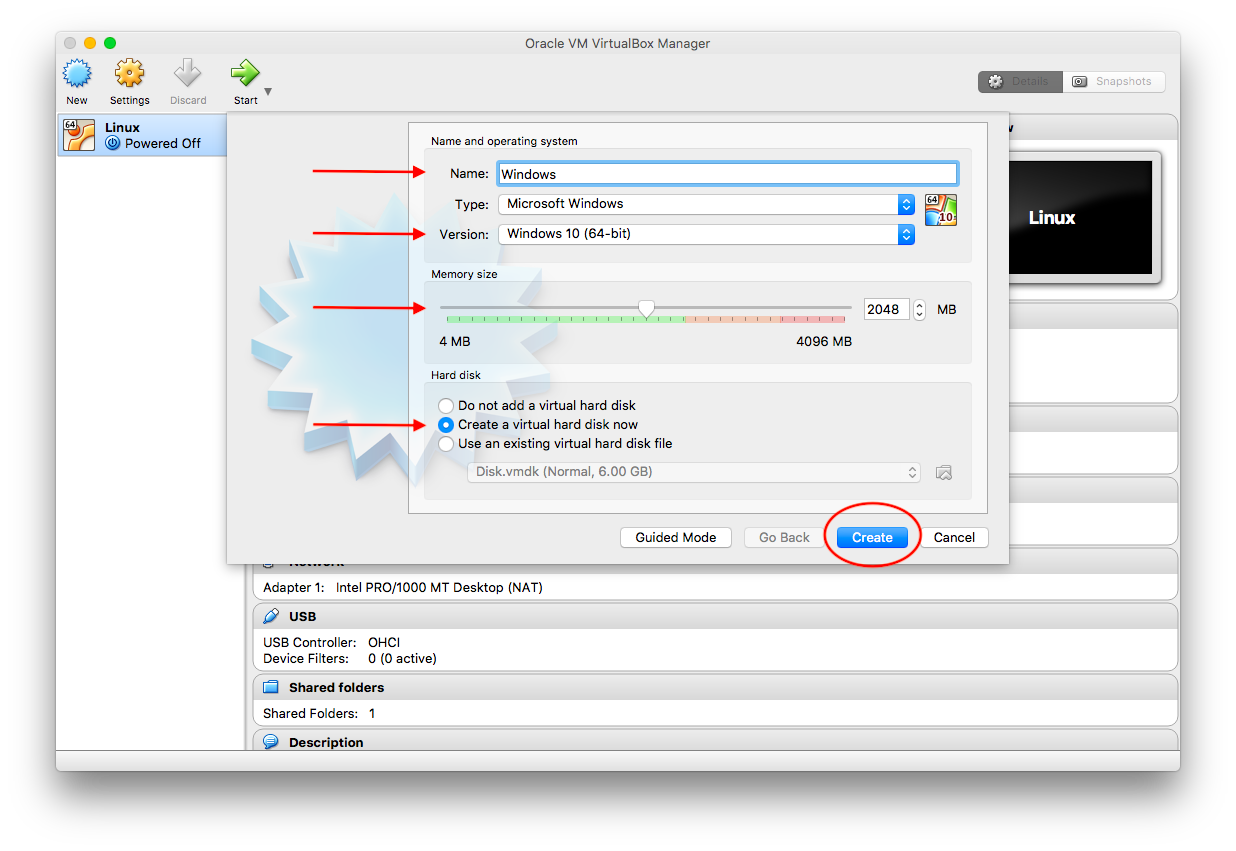
- Once VirtualBox has been installed, open the program. Then, click the "New" button.
- In the dialog that appears, give your VM a name.
- Select Windows 10 from the Version list. Remember to select 32-bit or 64-bit based on what you downloaded.
- Under Memory Size, select 1024 MB for the 32-bit version of Windows, or select 2048 MB for the 64-bit version of Windows.
- Be sure that "Create a virtual hard disk now" is selected. Then click Create.
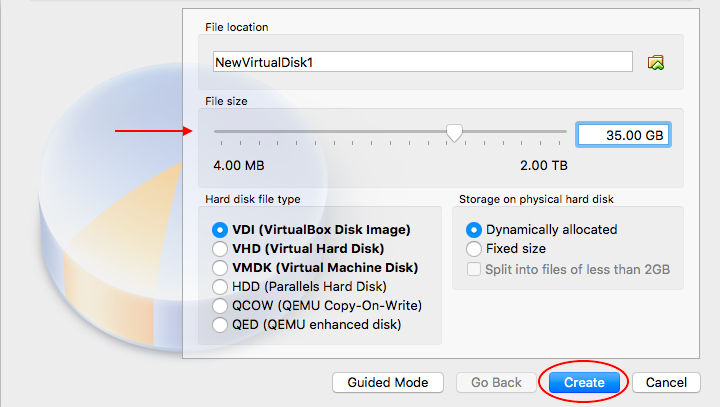
- A new window will appear, allowing you to create your virtual hard drive. Set the file size to at least 35 GB to leave room for Windows and Visual Studio. Then click Create.
- Step 4 - Start your Virtual Machine
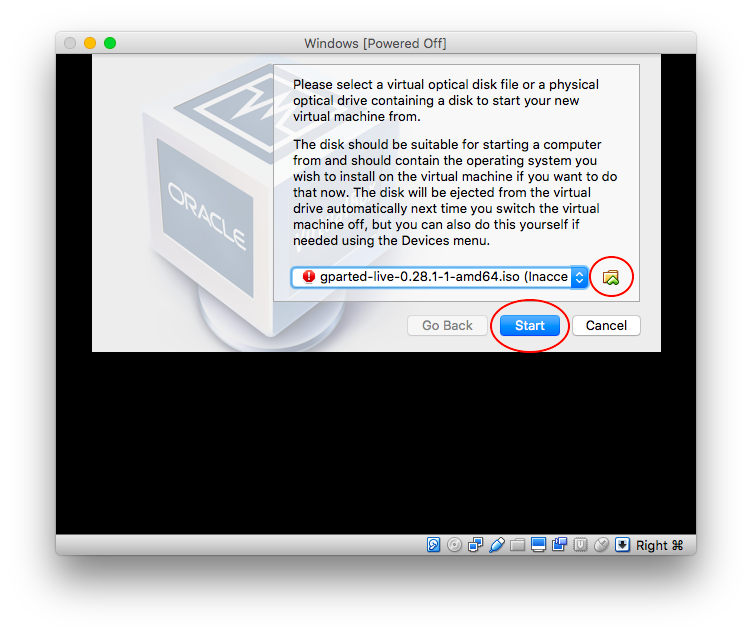
- Now that your settings are correct, click Start to start your Virtual Machine. You will then be prompted to find the Windows ISO image. Click the small folder icon, and then open the ISO you downloaded from Microsoft. Then click Start.
- Step 5 - Install Windows 10
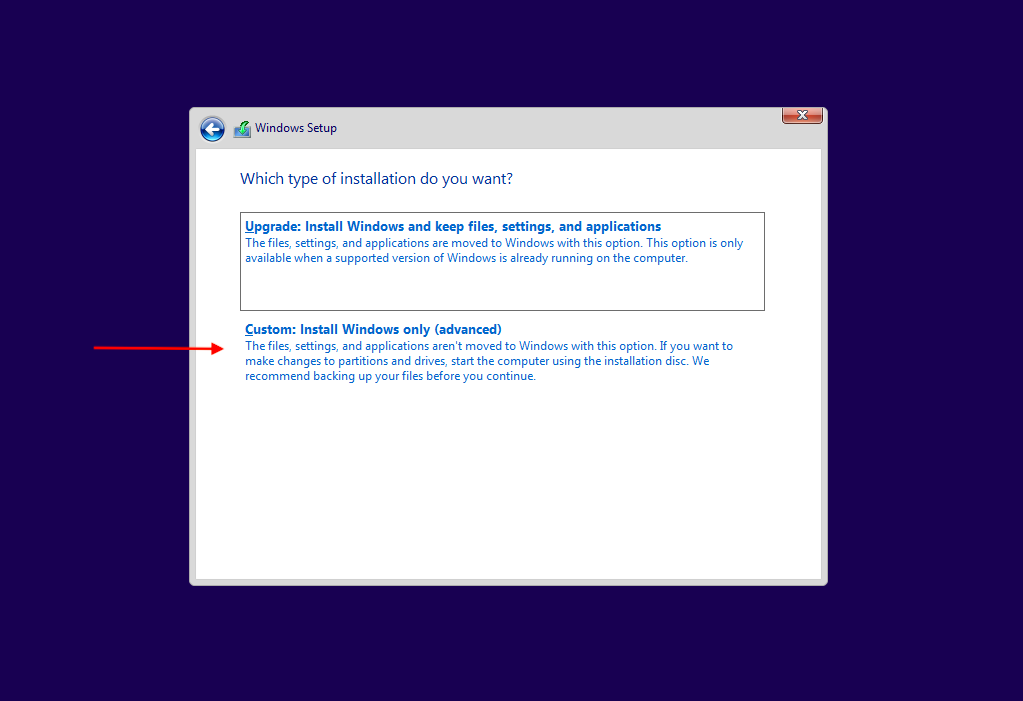
- At this point, your Virtual Machine will boot into the Windows Installer. Follow the prompts to install Windows 10 on the Virtual Hard Drive you created. If you are given the choice between an "Upgrade Install" or a "Custom Install," choose "Custom Install." The installation will take some time.
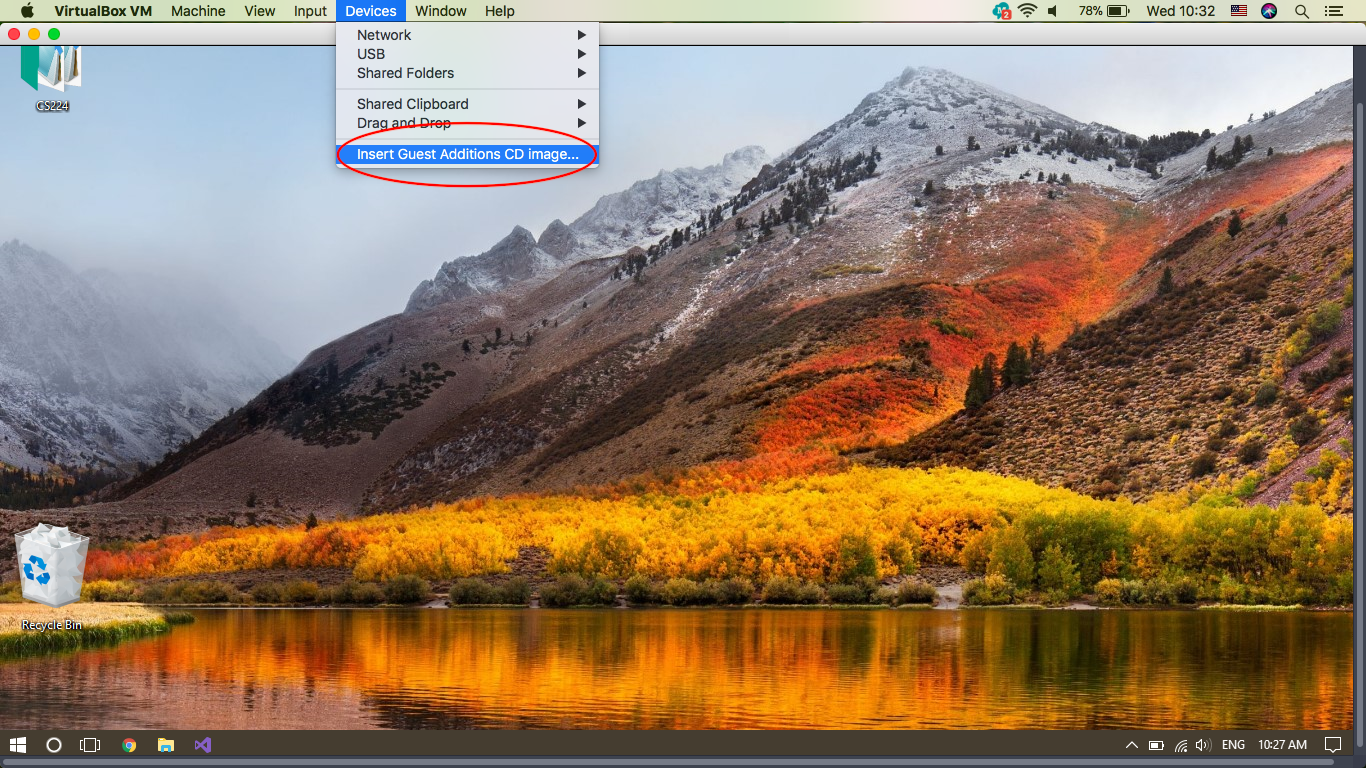
- Step 6 - Install the VirtualBox Guest Additions
- Now that Windows is installed on your Virtual Machine, there are a few more things to install to make sure it works correctly in VirtualBox. In your Virtual Machine, go to the Devices menu and select "Insert Guest Additions CD Image."
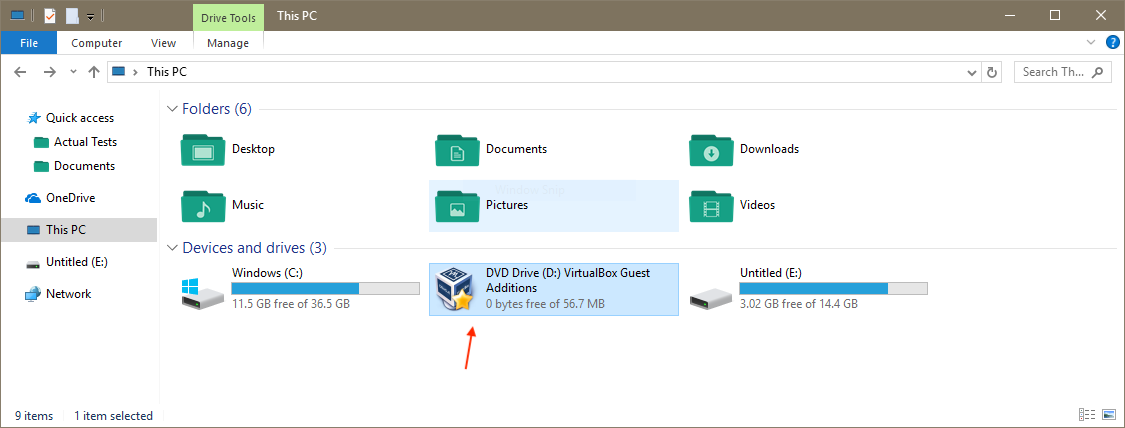
- If the installer program doesn't automatically start, navigate to "This PC" in Windows Explorer, and then double-click on the VirtualBox Guest Additions CD.
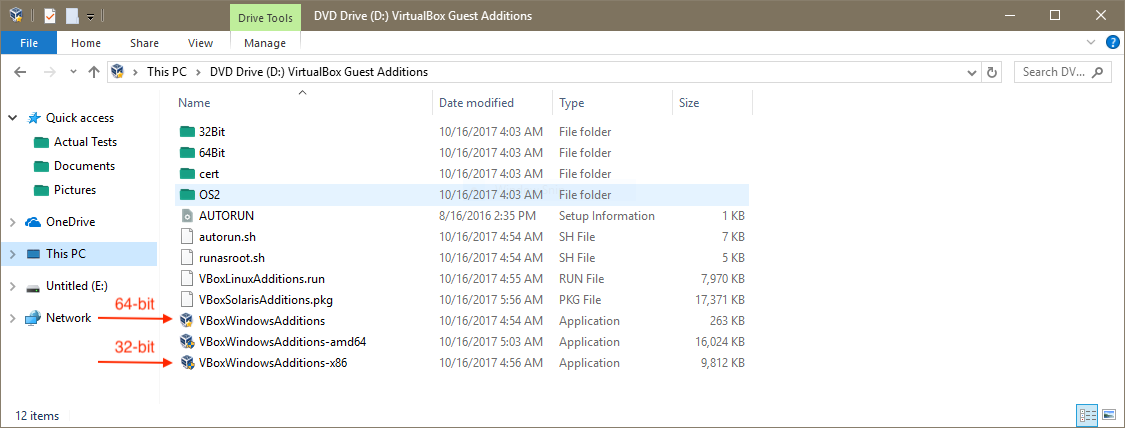
- Double click the correct installer for your machine architecture, as shown in the image below. Follow the steps of the installer, and restart your machine when it is complete.
- When your machine has restarted, your Windows Virtual Machine is ready to use! You can now install Visual Studio and complete your projects.